
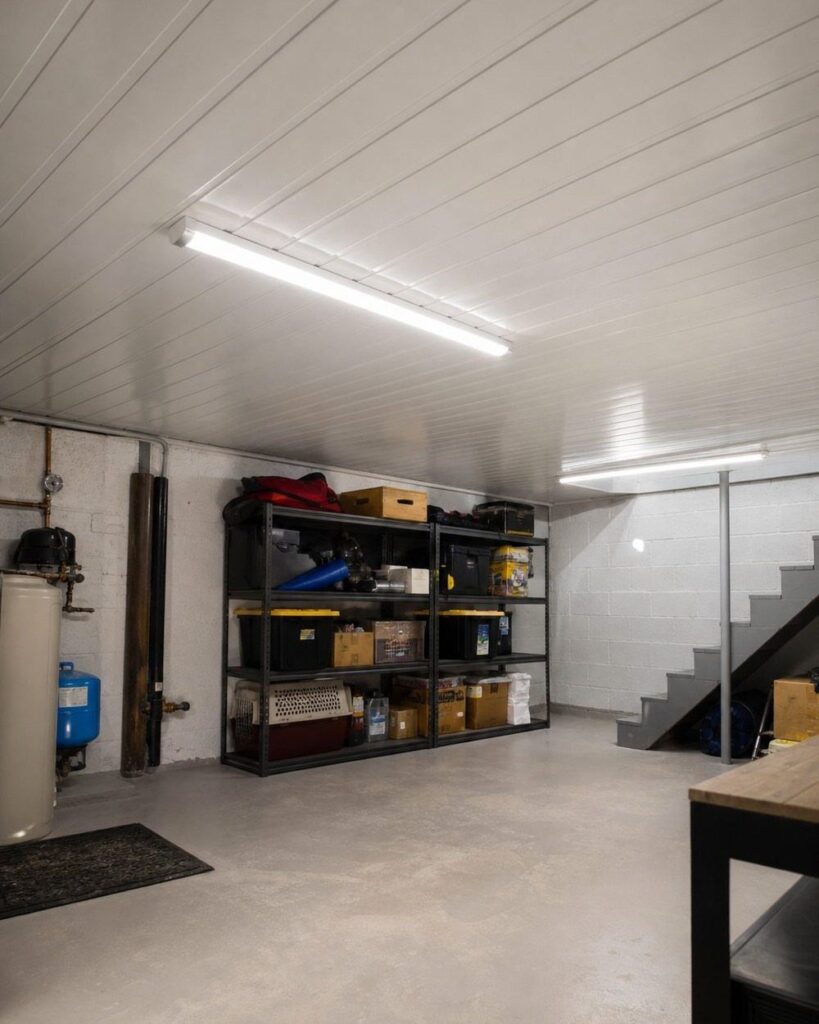
Basement ceiling finishes run from under a dollar per square foot for paint to around $15 for wood or tin, and the right one depends on how much ceiling height you can give up and whether you need to reach pipes or wiring later.
Drop ceilings sacrifice the most clearance but lift out tile by tile when you need access. Painted joists take nothing off the height and cost the least, though prep takes longer than the rolling itself.
1. Beadboard Ceiling
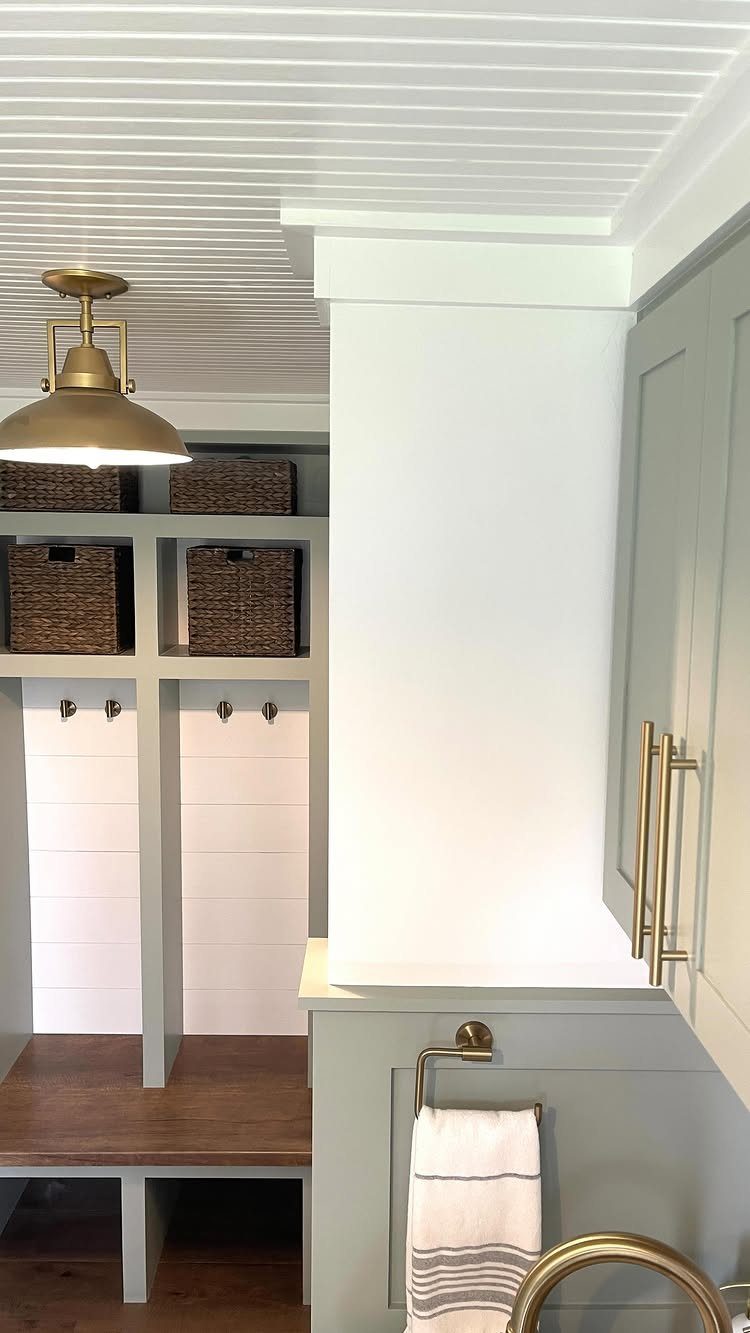
Beadboard panels give a basement ceiling that buttoned-up look without hiding much height. The narrow vertical grooves add texture overhead, and because beadboard sits flat against joists, you lose less than an inch of clearance.
I like this approach when the basement already feels open and you want a finished surface that still reads as warm. The panels come primed or ready to paint at most home centers.
Installation is straightforward: nail the panels to furring strips or directly to joists, fill the seams, and roll on 2 coats of ceiling paint. Budget a weekend if you’re working alone.
Because basements are often designated as casual tucked-away spaces in a home, there is more freedom to experiment with bold or new decorating ideas that you might be hesitant to try in the other rooms of the house.
— Bob Vila
2. Painted Exposed Ceiling
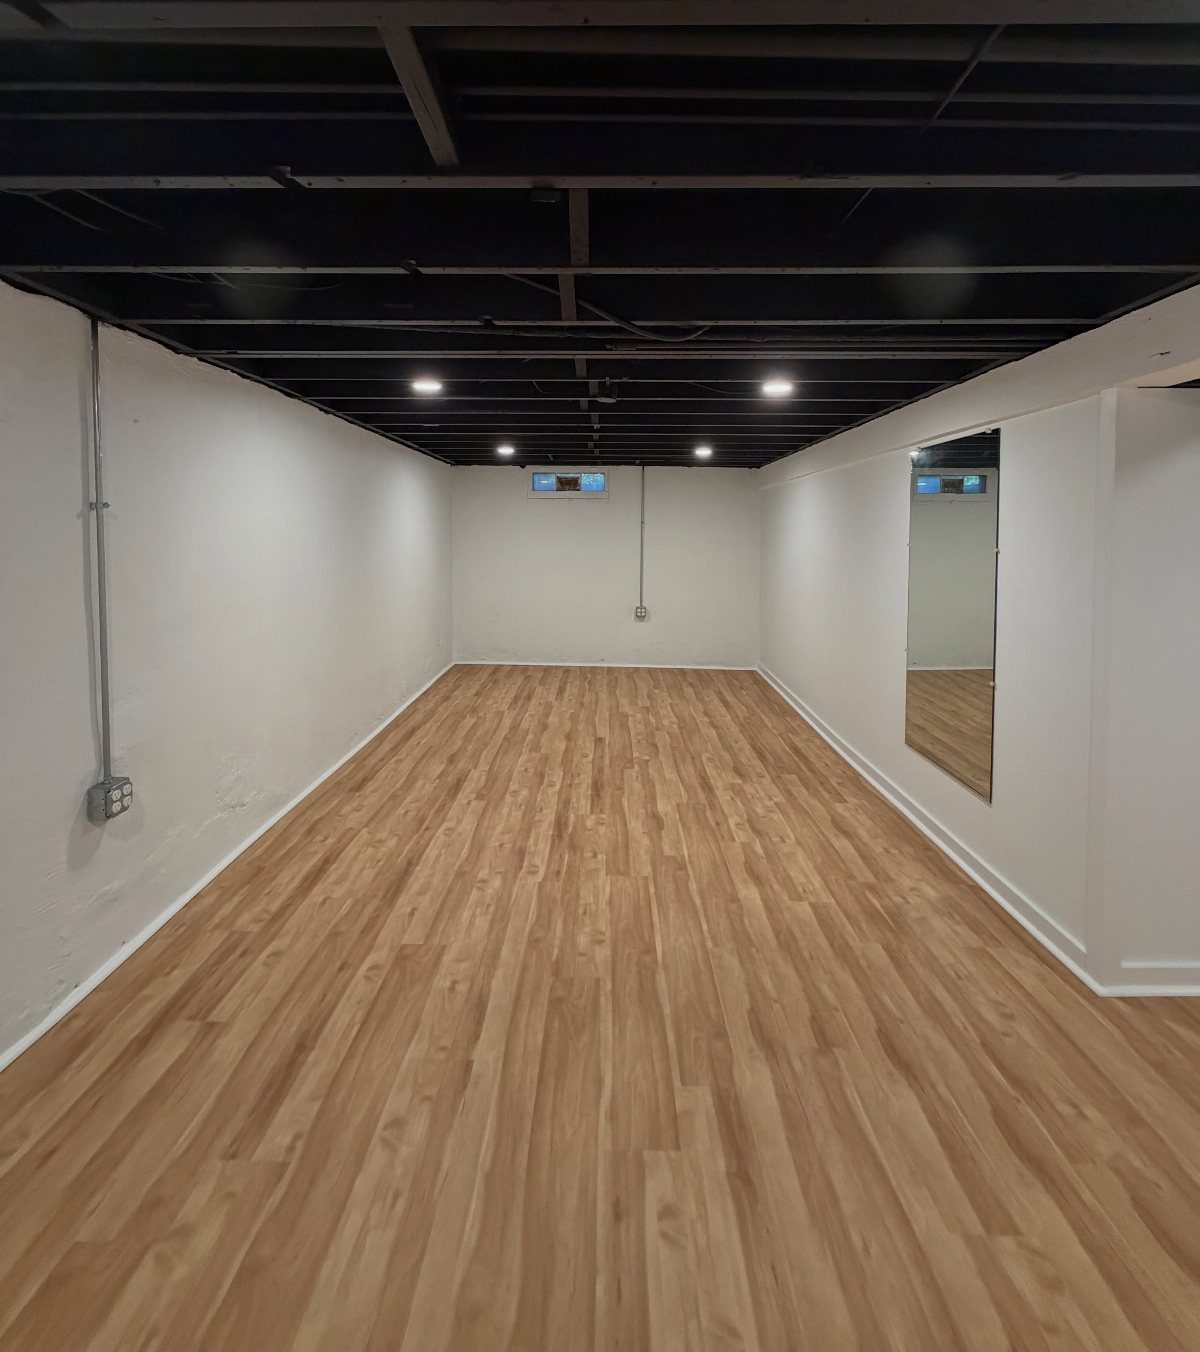
Painting the joists, ductwork, and wiring overhead gives you every inch of ceiling height while pulling the room together. Black hides the mess best, and matte or flat finish swallows the shadows between pipes.
Prep takes longer than the painting itself.
Dust everything, tape off walls, and use a low-nap roller on an extension pole. 2 coats usually cover, and you can cut in around ducts with a brush.
The look works when your mechanicals run neat or when you want an industrial edge. White paint softens it, but shows dirt faster.
3. Drop Ceiling
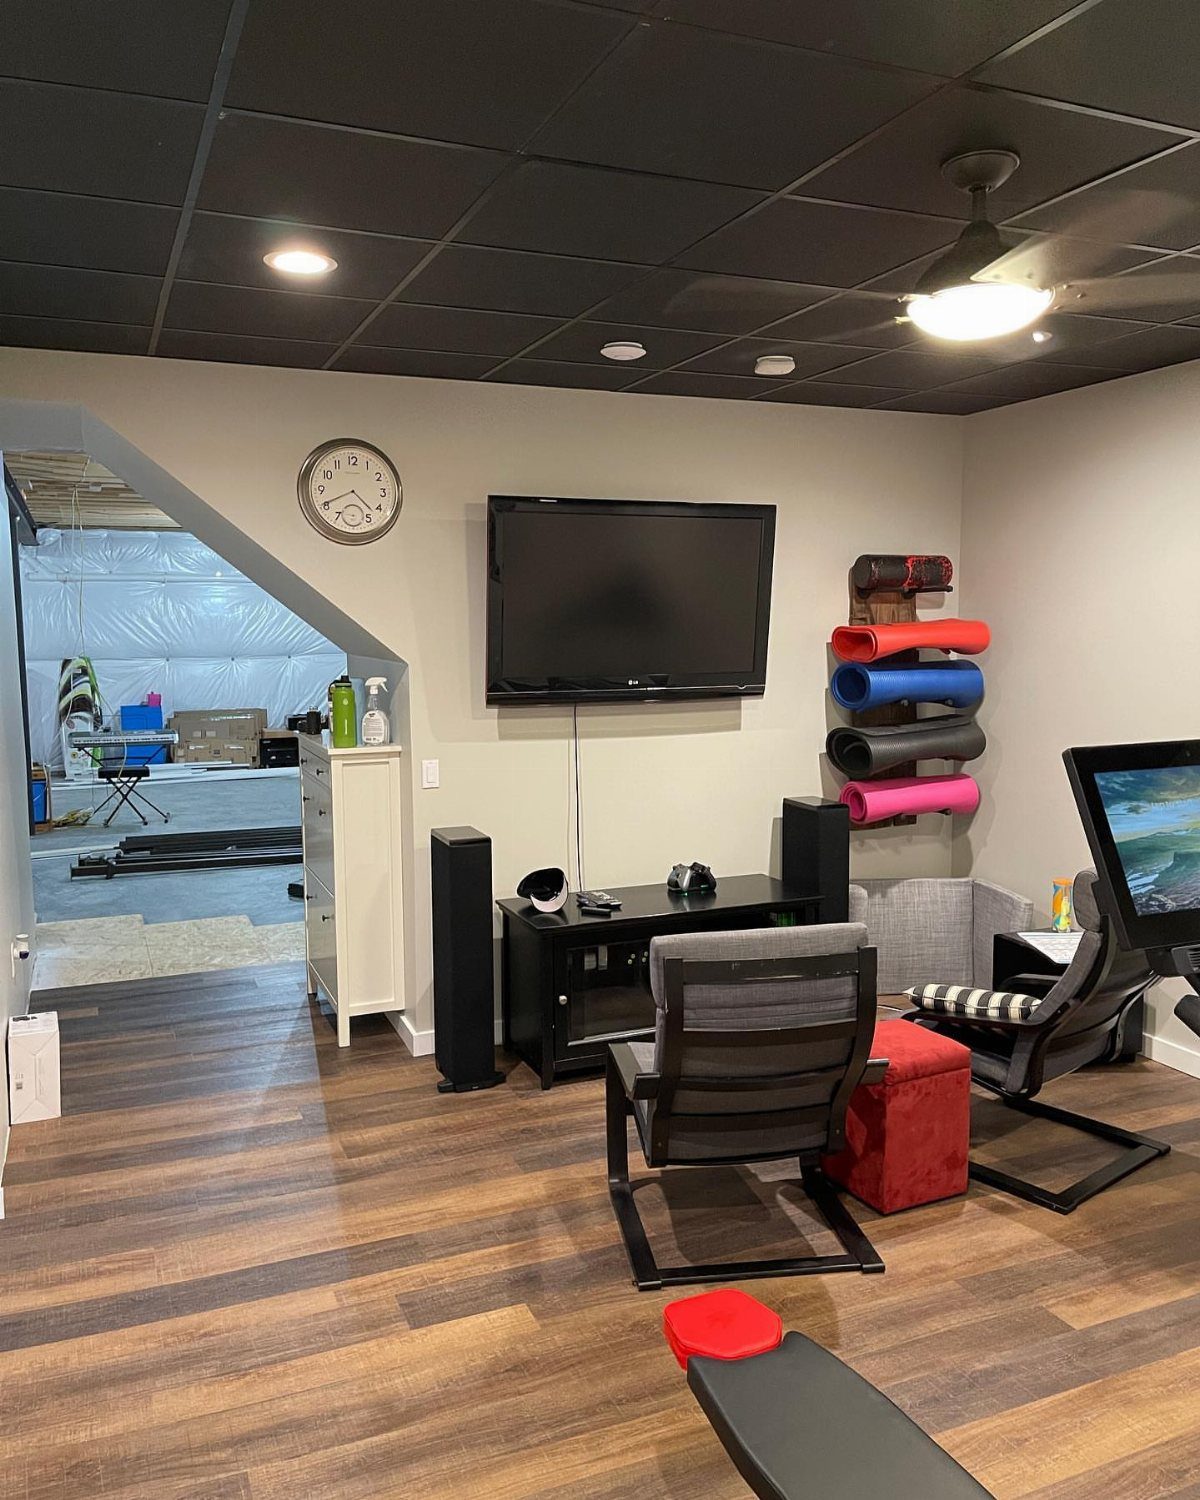
A drop ceiling gives you a grid of removable tiles that sit below the joists, hiding ducts and wiring while keeping access open. Each tile lifts out when you need to reach a valve or run new cable.
The grid hangs on wall track and wires, so installation goes fast once the perimeter is level.
Ceiling height drops below the lowest pipe, so measure first. I’d choose this when access matters more than a sleek look, or when the basement doubles as a utility hallway.
4. Wood Plank Ceiling
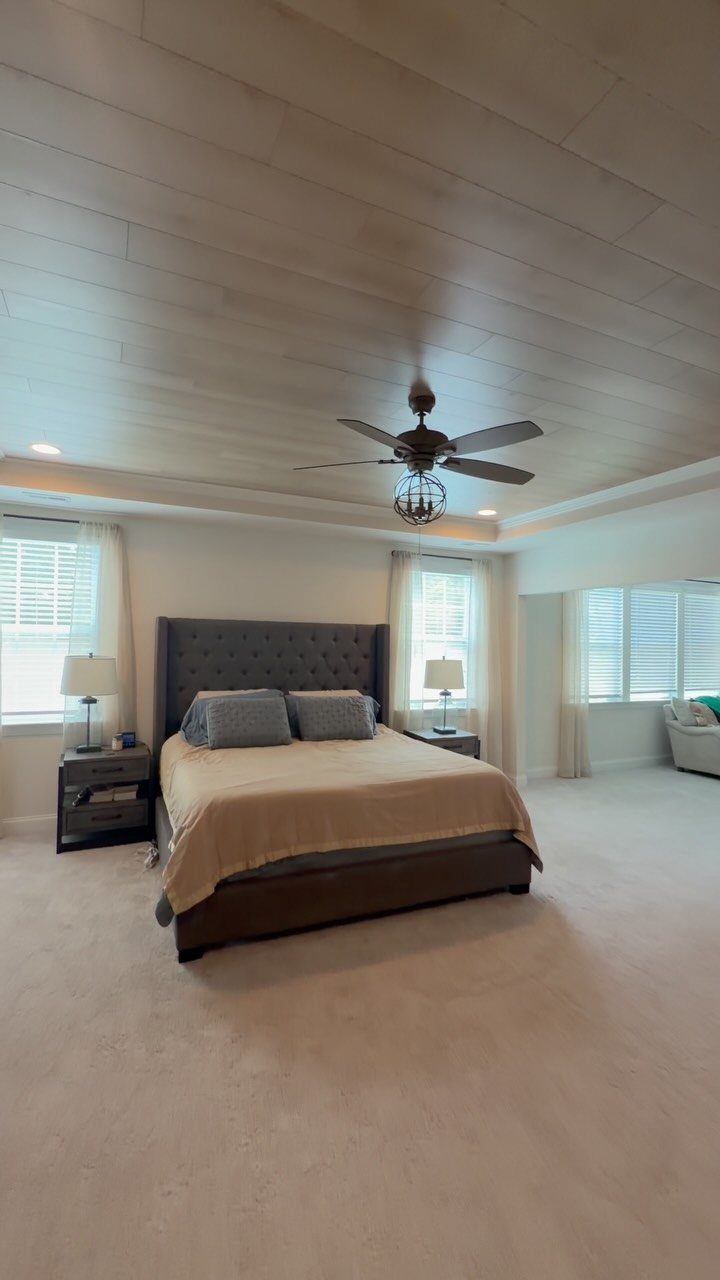
Tongue-and-groove planks installed overhead bring the warmth of wood without the cost of hardwood flooring. The long lines stretch a basement visually, and lighter stains keep the space from feeling closed in.
Planks nail or click together depending on the type.
Nail-up pine is the budget pick; click-lock vinyl plank costs more but installs faster and tolerates moisture better. Either way, you’ll need a miter saw and a helper to hold boards while you fasten them.
The result feels more finished than paint alone.
5. Tin Ceiling
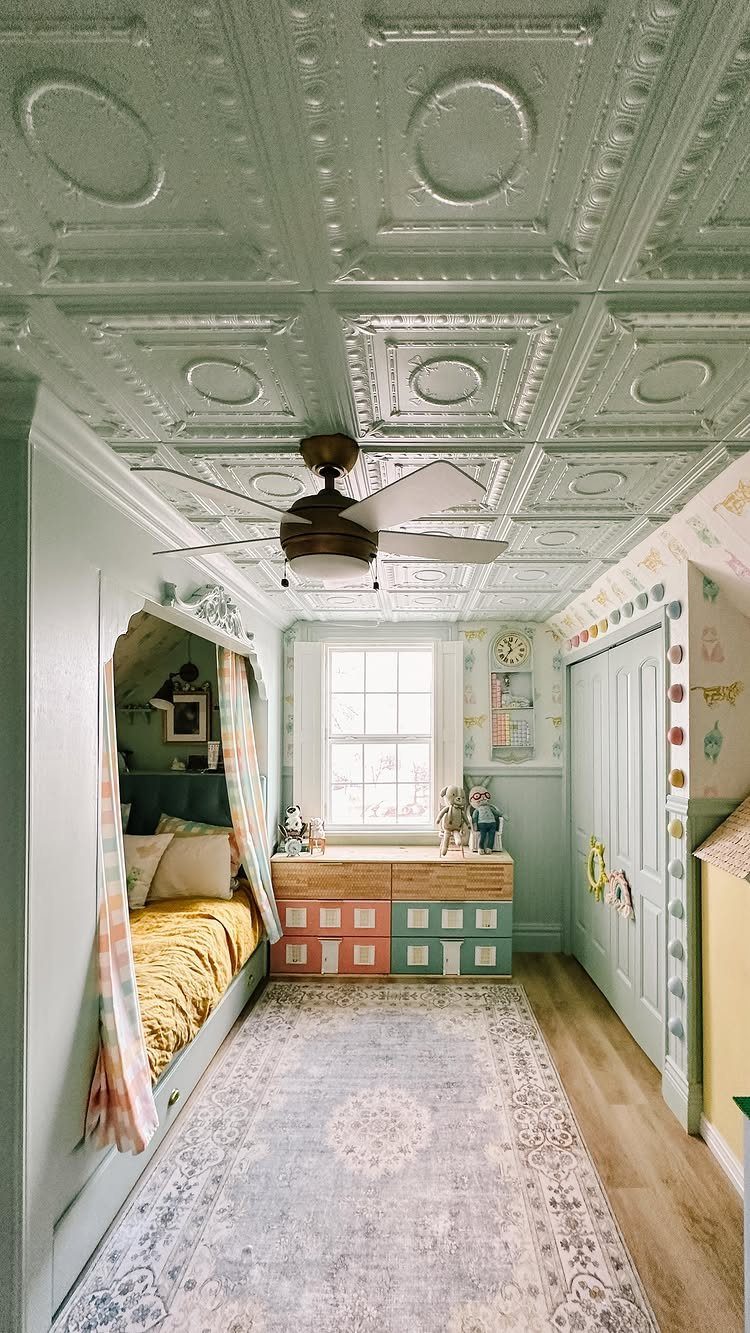
Embossed tin panels press onto furring strips or directly over drywall, and the raised pattern catches light in a way flat ceilings can’t. The panels come preprimed or factory-finished.
Cuts are simple: tin snips or a utility knife score the back, then snap along the line.
Panels overlap slightly at seams, and small brads or adhesive hold them in place. A 10×12 ceiling takes around 15 panels and a day to install.
The vintage look suits bedrooms and bonus rooms. Painted white or pale blue, tin reads cottage; left metallic, it skews industrial.
6. Rustic Faux Wood Beams
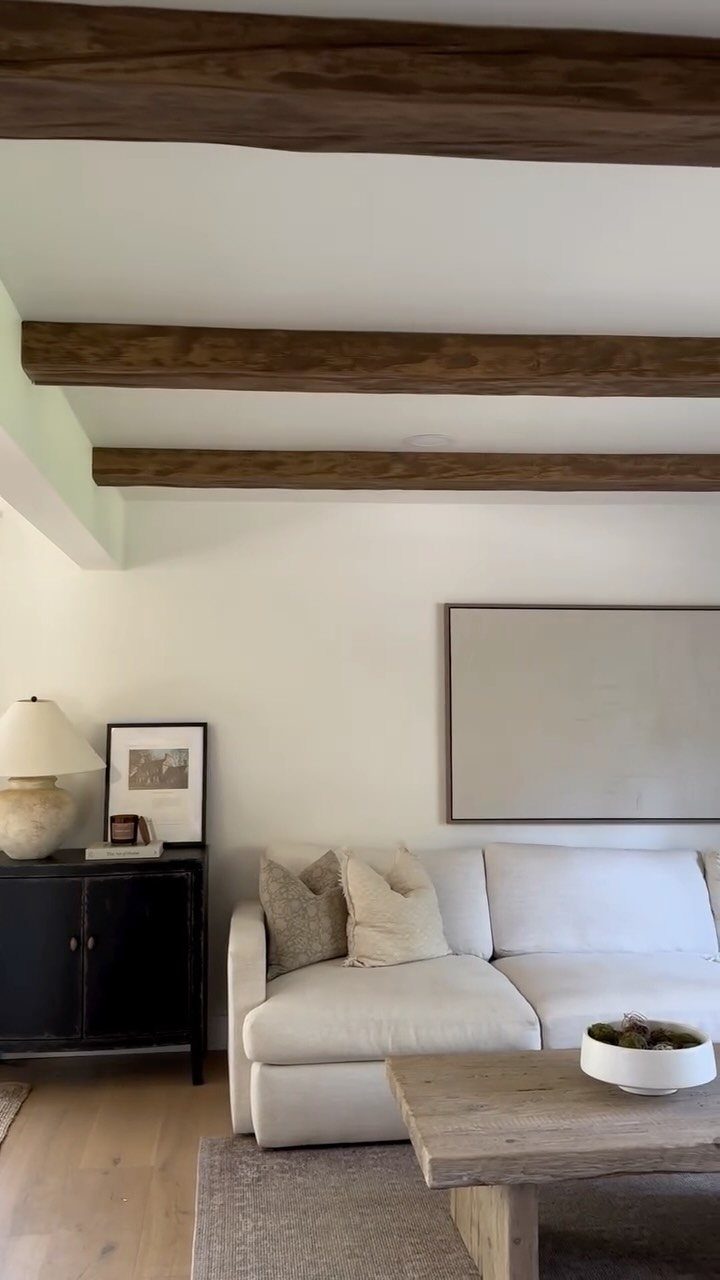
Hollow faux beams add the dimension of real timber without the weight or cost.
They slip over a wood cleat nailed to the ceiling, so installation is faster than it looks, and the effect softens a plain drywall or painted surface.
Beams vary in price depending on finish.
Space them evenly for balance. A 12×16 ceiling needs four beams and takes an afternoon to install once the cleats are up.
I prefer this option when the ceiling is already finished. The dark brown against white adds contrast without covering anything structural, and the depth makes low ceilings feel less flat.
Utility Access Considerations
Before you pick a ceiling style, mark every pipe valve, junction box, and duct access point you might need to reach later.
Local building codes often require permanent access to shut-off valves, electrical panels, and cleanouts, so check your municipality’s requirements before you start.
Removable panels or hatches keep you legal and save you from cutting into a finished surface later.
Drop ceilings handle this best since every tile lifts out. For painted joists or planks, you can frame in an access panel with trim that unscrews when needed.
If you’re drywalling or installing something permanent, leave openings where code requires them and box them with trim.
A 12×12 inch panel usually gives enough clearance for a valve or junction box, and magnetic or friction-fit covers sit flush without hardware showing.
Moisture Concerns
Basements hold moisture longer than the rest of the house, so materials that absorb water can sag, warp, or grow mold.
If your basement runs damp or you live in an older home without vapor barriers, pick finishes that tolerate humidity.
Vinyl plank and PVC beadboard handle moisture better than natural wood or paper-faced drywall.
Tin panels resist rust when factory-primed or painted. Painted joists dry fast since air moves around them, but mildew can settle on dust if ventilation is poor.
Test humidity with a hygrometer before you start.
Cost Considerations
Finishing a basement ceiling runs $1 to $15 per square foot depending on the material and how much prep the space needs. Paint costs the least since you’re covering what’s already there.
Drop ceilings and beadboard sit in the middle. Tin and wood planks push the higher end, especially if you’re hiring help.
Framing, lighting changes, and HVAC adjustments add to the total, so budget for those if your joists need furring strips or your fixtures need relocation.
Folding ceiling work into a full basement remodel usually brings the per-square-foot price down, since you’re already paying for labor and buying materials in bulk.
Frequently Asked Questions
How to make a basement ceiling look better?
Paint the exposed joists and mechanicals in a flat black or white, install beadboard panels for a finished surface, or hang a drop ceiling with modern tiles.
Painting costs the least and keeps full height, while beadboard adds warmth without losing much clearance. Drop ceilings hide everything and give you access later, but they cost more and sit lower than the other two.
Can you leave a basement ceiling exposed?
Yes, and painting it pulls the look together without covering anything or losing height.
Black hides pipes and ductwork best, white lightens the space, and both finishes run $1–$2 per square foot. The mechanical lines stay visible, so this works better for casual spaces than formal rooms.
What can I do with low ceilings?
Pick a finish that sits flat against the joists or paint what’s already there to keep every inch of height.
Beadboard loses less than an inch, painted joists lose nothing, and both avoid the drop that comes with a suspended grid. Lighter colors and good lighting make a low ceiling feel taller than it measures.