A basement bar can run from a dry console with open shelving to a full wet bar with a sink, coolers and pendant lighting overhead.
The choice comes down to whether you need running water: a wet bar handles sticky syrups and citrus cleanup without trips upstairs but requires plumbing and possibly an ejector pump if your basement sits below the main sewer line, while a dry bar skips the plumbing entirely and fits into tighter corners.
Floating shelves with LED lighting hold bottles and glassware above counter height, vertical wine storage keeps a dozen bottles in less floor space than countertop racks, and moody speakeasy corners with dark walls and leather seating turn one end of the basement into a separate zone.
1. Pendant Lighting
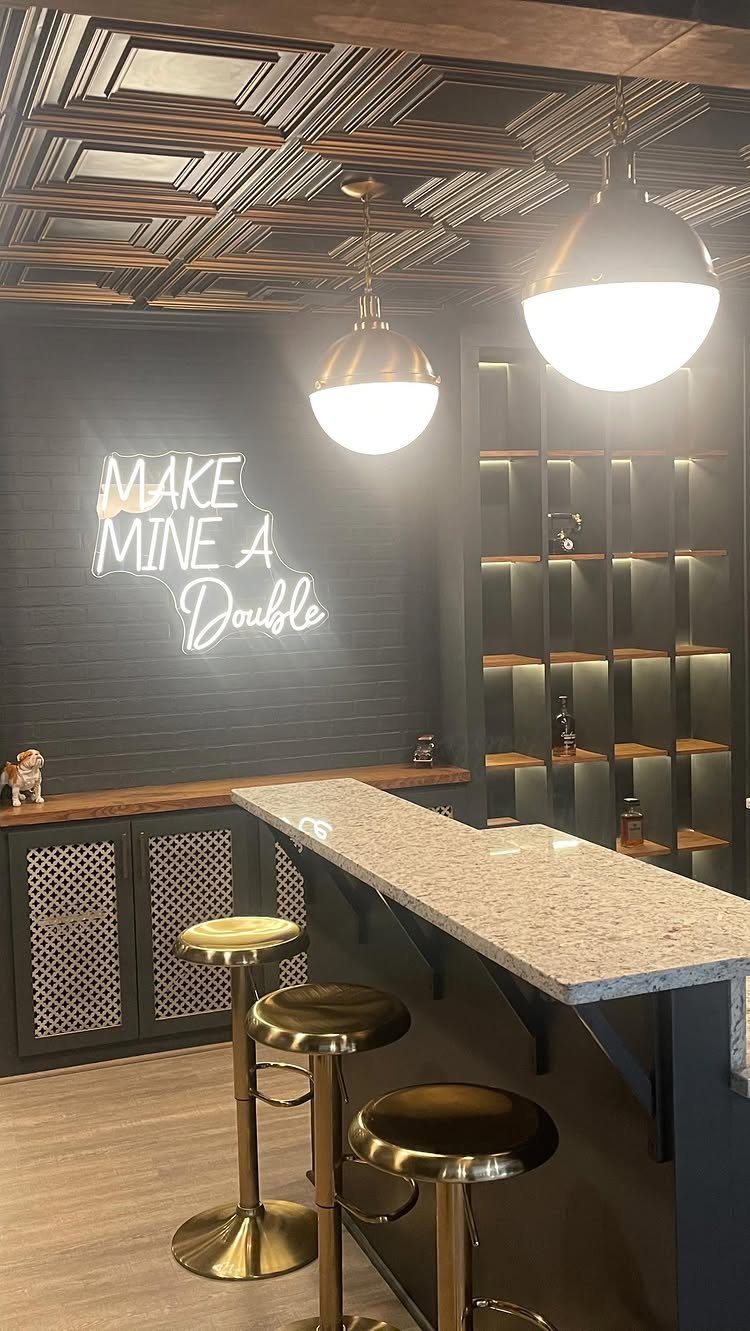
Pendant lights drop focused light right where the bar needs it and define the space without closing it off. The globe fixtures here put out enough light to work by while keeping the mood dim everywhere else.
Match the finish to your stools or faucet.
Clear glass or frosted globes soften the bulb glare; metal shades throw light down in a tighter pool. Hang them low enough that seated guests clear them comfortably without bumping their heads.
Run the wiring before you finish the ceiling, or surface-mount a cord if the bar landed somewhere you didn’t plan for originally.
2. Vertical Wine Storage
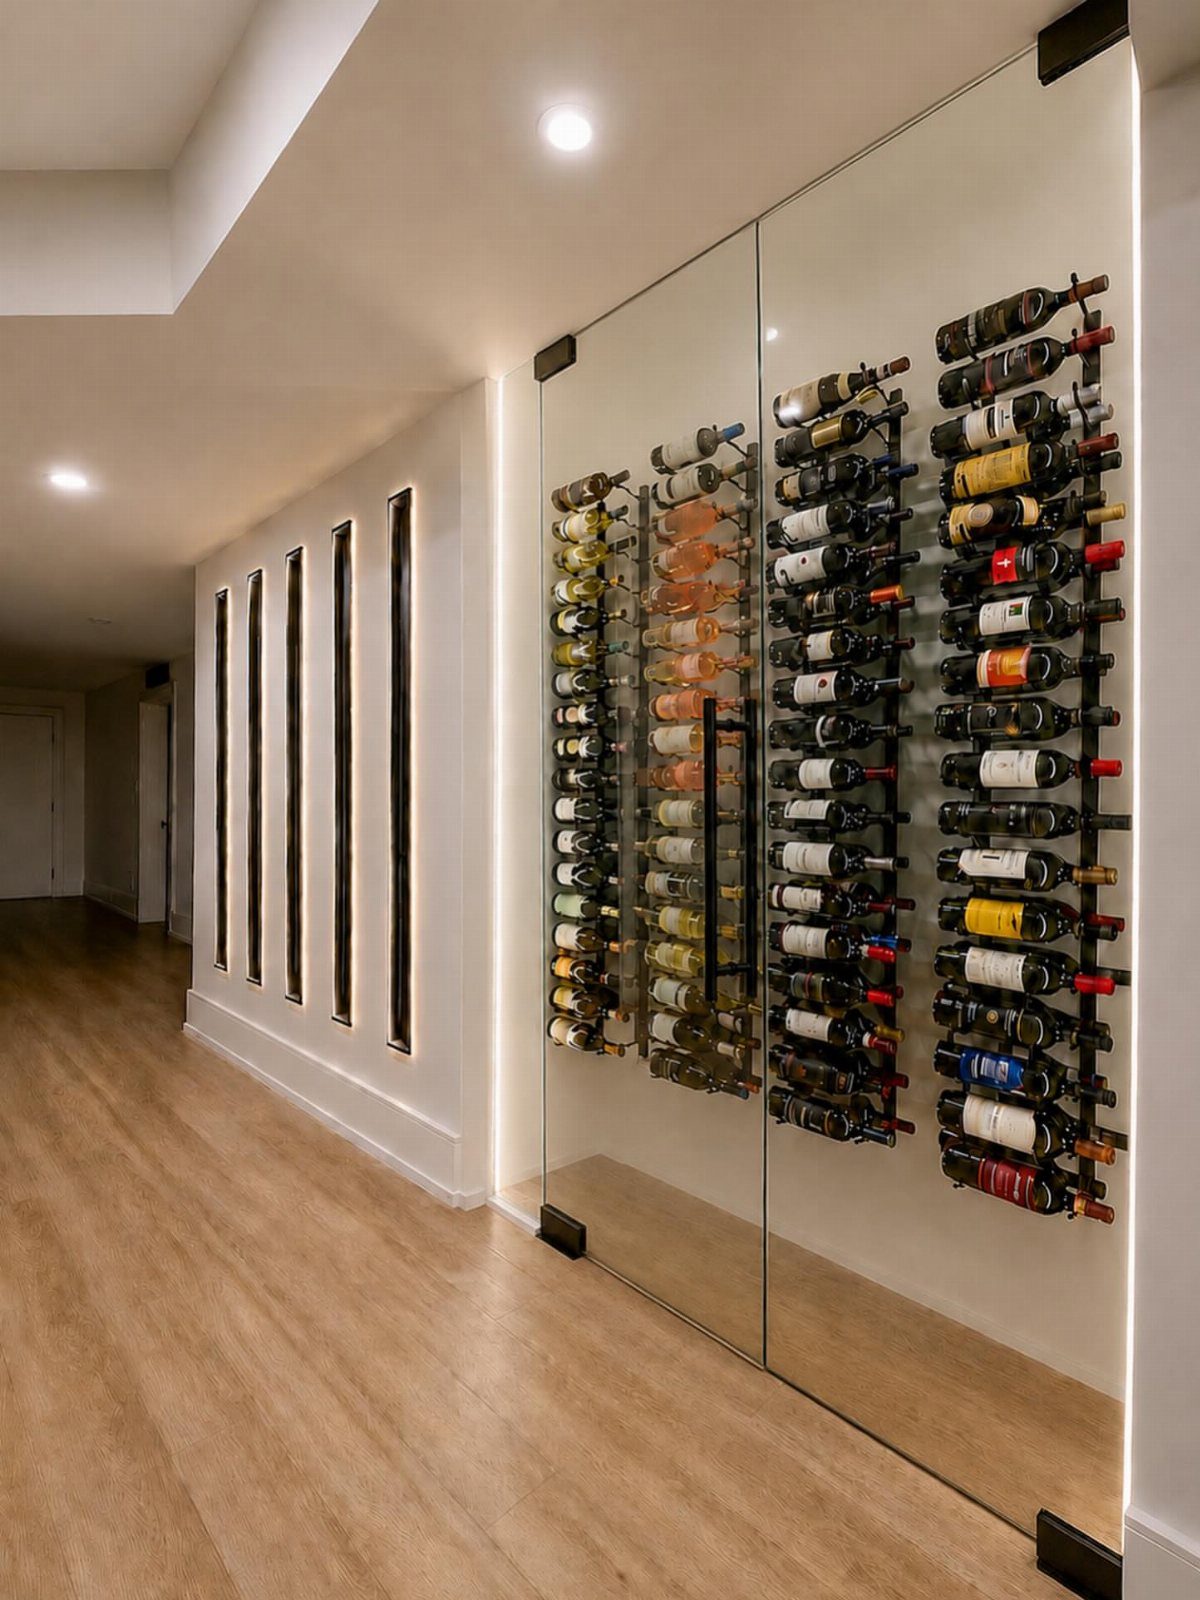
A glass-enclosed vertical rack holds more bottles in less floor space than anything else and turns the collection into the feature. The metal pegs angle each bottle slightly down so the cork stays wet.
Vertical wine storage makes sense if you stock more than a dozen bottles regularly. For smaller collections, open shelving or a countertop rack takes less wall and feels less empty.
Frame it out between studs or build a shallow box on the surface. Recessed lighting at the top washes down through the glass and picks up the labels.
3. Custom Cabinetry
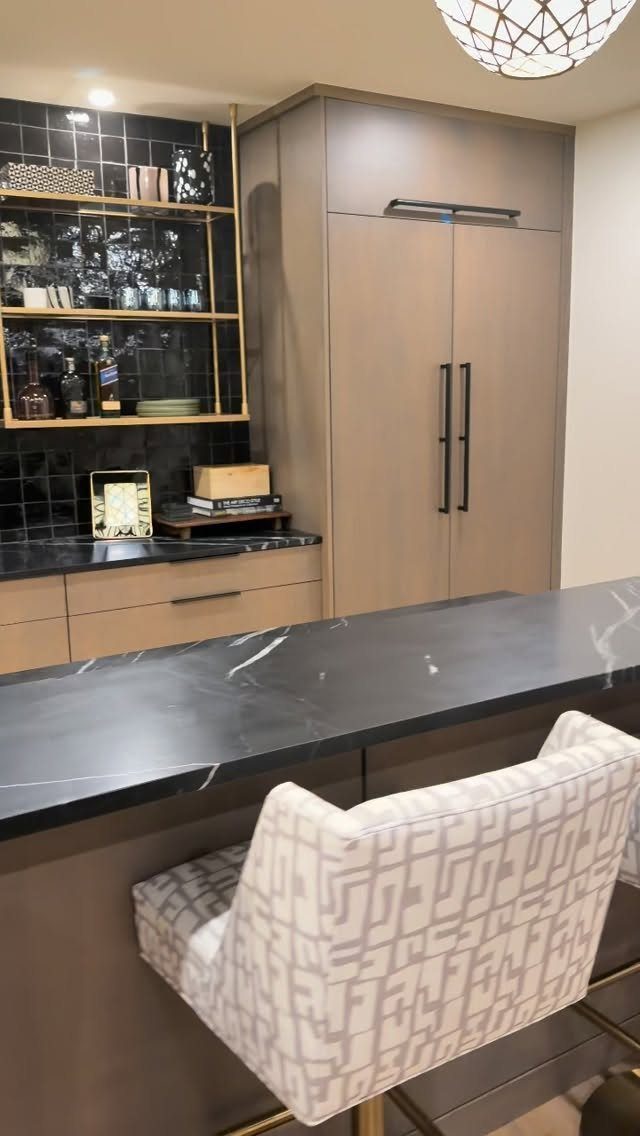
Custom cabinets give you exactly the storage the bar needs: narrow slots for cutting boards, shallow trays for jiggers and pourers, pullouts for mixers.
Order cabinets sized to your wall or have a carpenter build them in.
Standard kitchen base cabinets work if your bar counter matches kitchen height, but most basement bars sit taller to match bar stools, and that needs custom box heights.
Add open shelving above for glassware and bottles you reach for often. The mix of closed and open storage keeps clutter out of sight without making every glass a cabinet door away.
4. Compact Kitchenette Bar
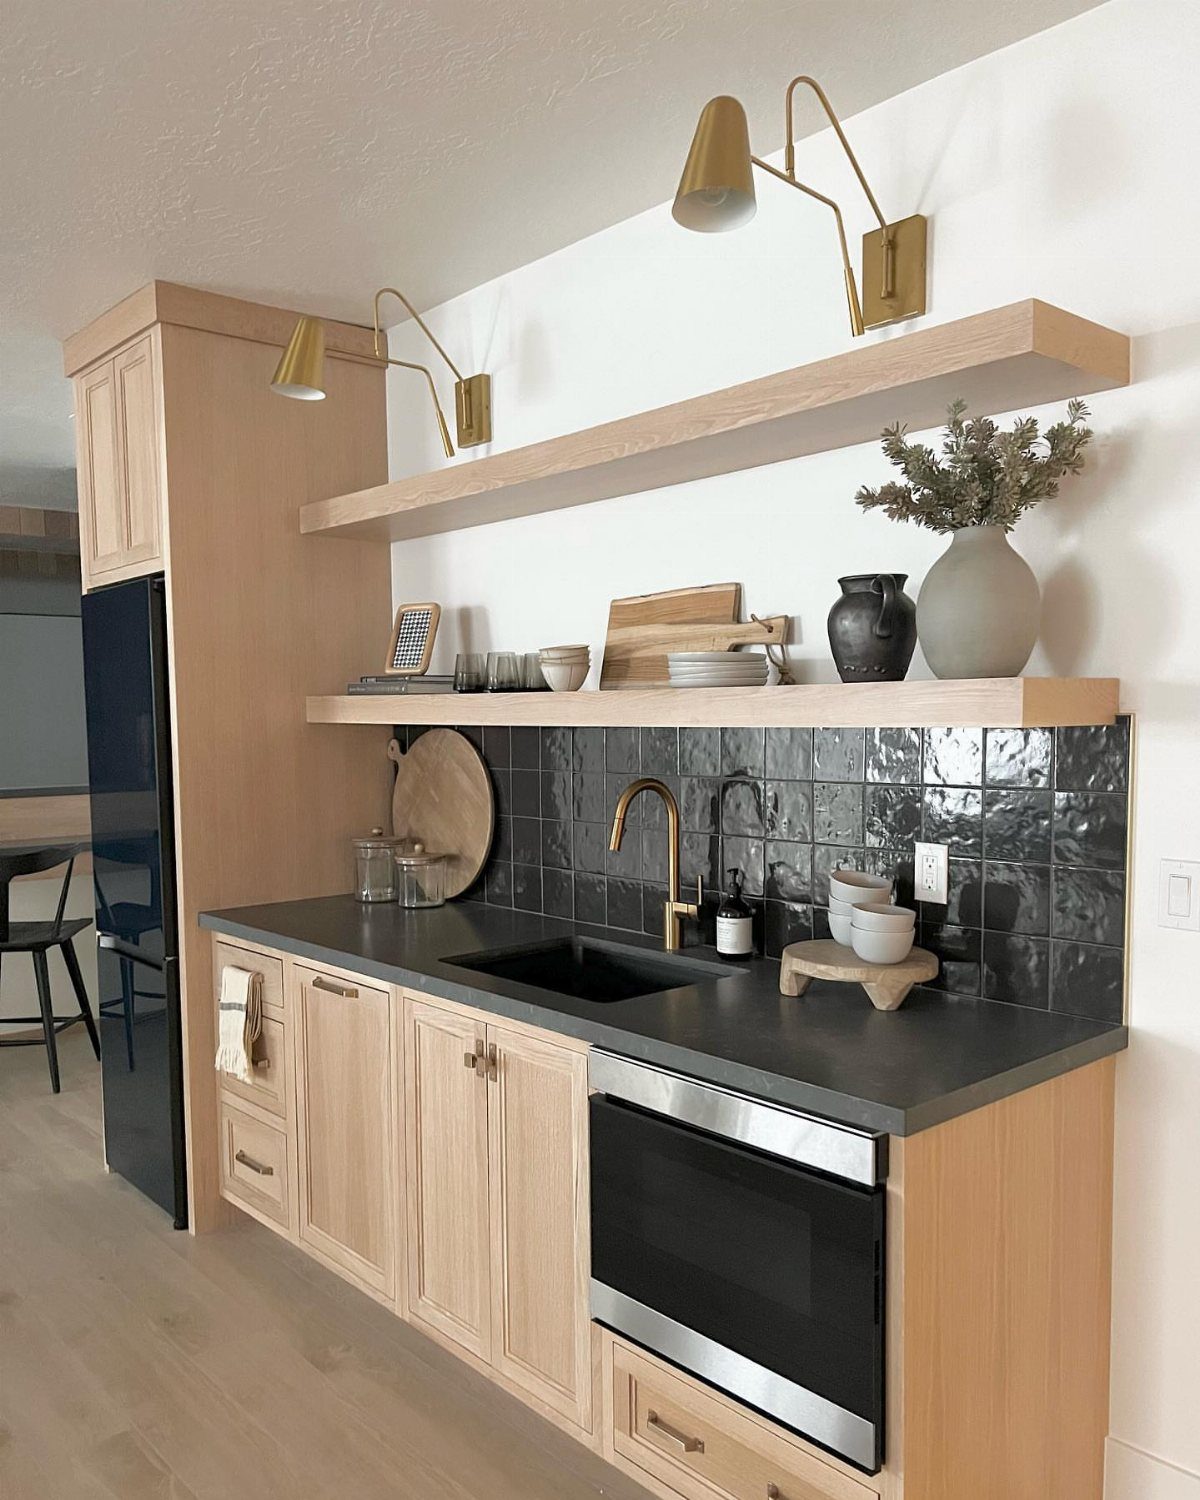
A kitchenette bar adds a sink, an oven and a cooktop so the basement handles meal prep without running upstairs. Dark countertops hide spills better than light stone, and open shelving keeps dishes and glassware within arm’s reach.
This setup needs plumbing, gas or electric lines, and ventilation if you’re installing a range.
Run the rough-in before you close the walls. Compact appliances fit tighter spaces: look for smaller ovens, narrow cooktops and bar sinks instead of full-size kitchen sinks.
Plan for enough counter if you’re doing any actual cooking down here. Less than that and you’re opening the oven into your prep space.
5. Floating Shelves with LED Lighting
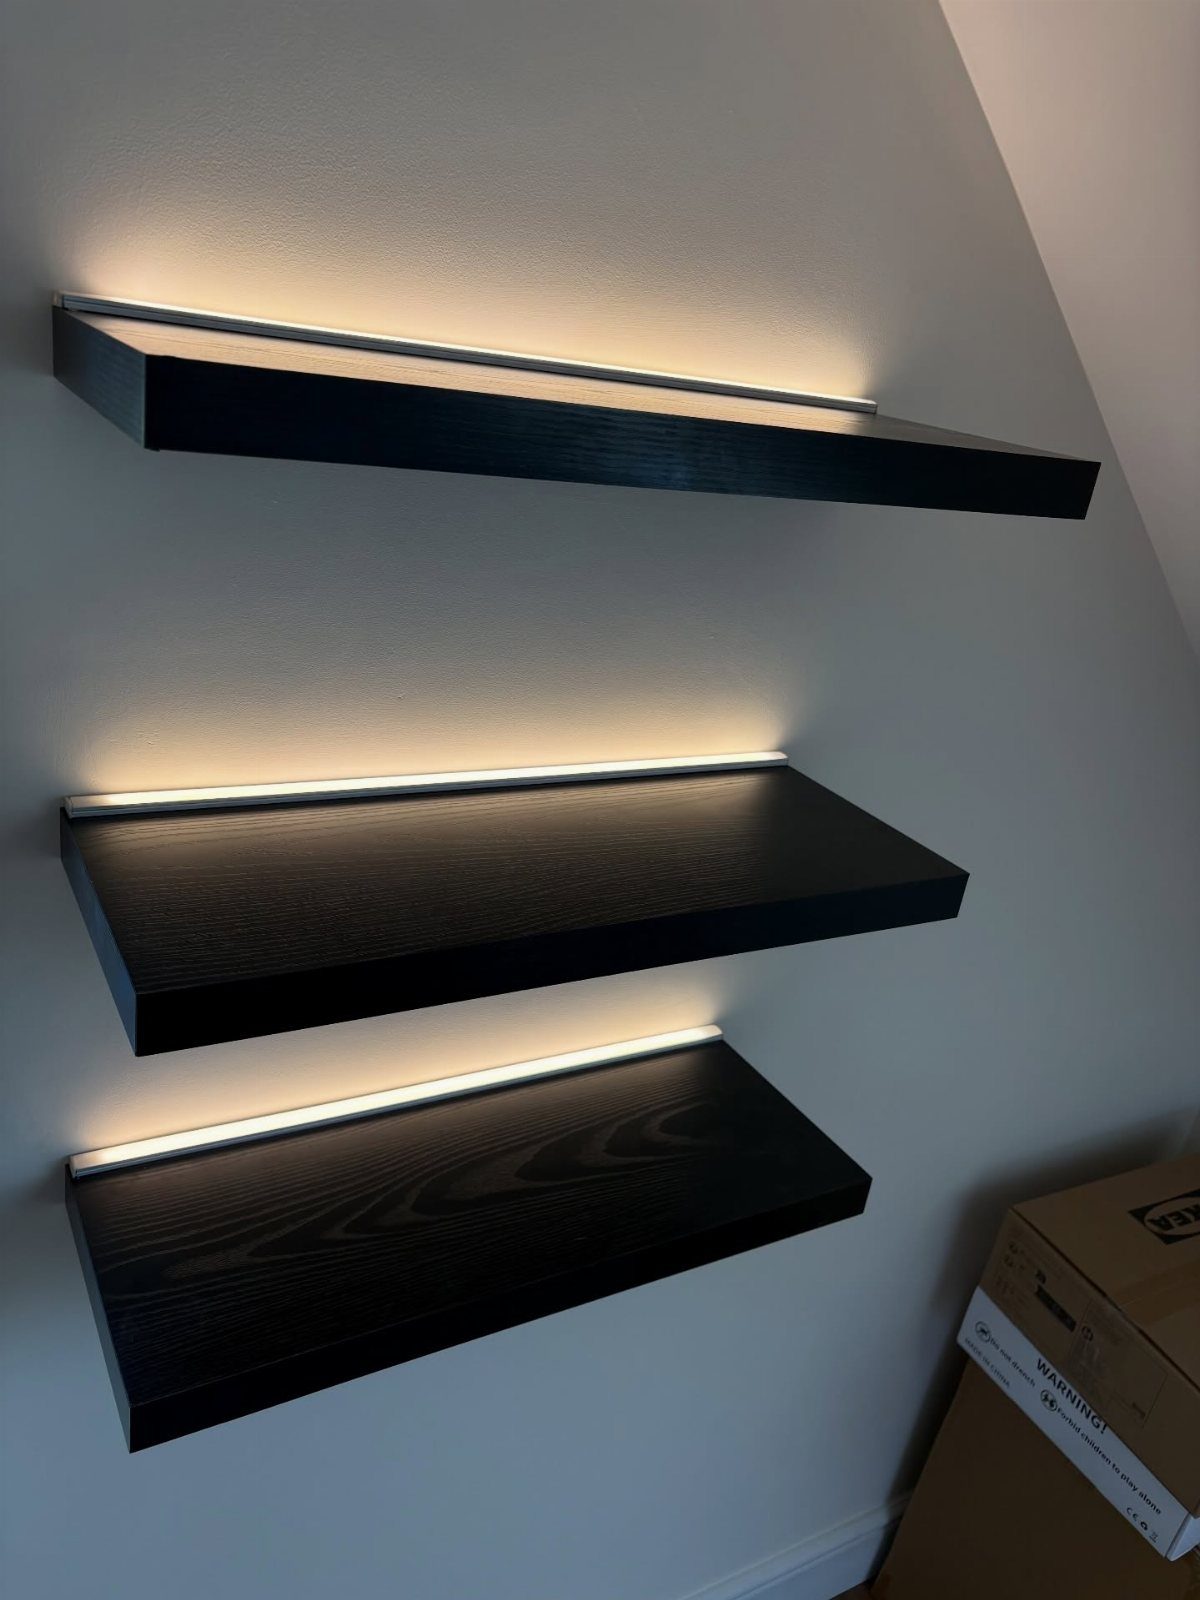
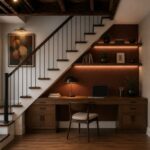
Floating shelves with LED strips mounted underneath add usable storage while lighting bottles and glassware from above. The warm LED tone here softens the glow; cool white reads more like a retail display.
Mount the shelves to studs or use heavy-duty anchors rated for the load.
Glass bottles and barware add up fast. Run the LED strip along the underside of each shelf and hide the power supply inside an adjacent cabinet or behind the drywall if you’re opening the wall anyway.
Black or dark wood shelves pull back visually and let the lit bottles stand out. Keep the spacing tight between shelves so shorter glasses don’t disappear in shadow.
6. Game Room Bar
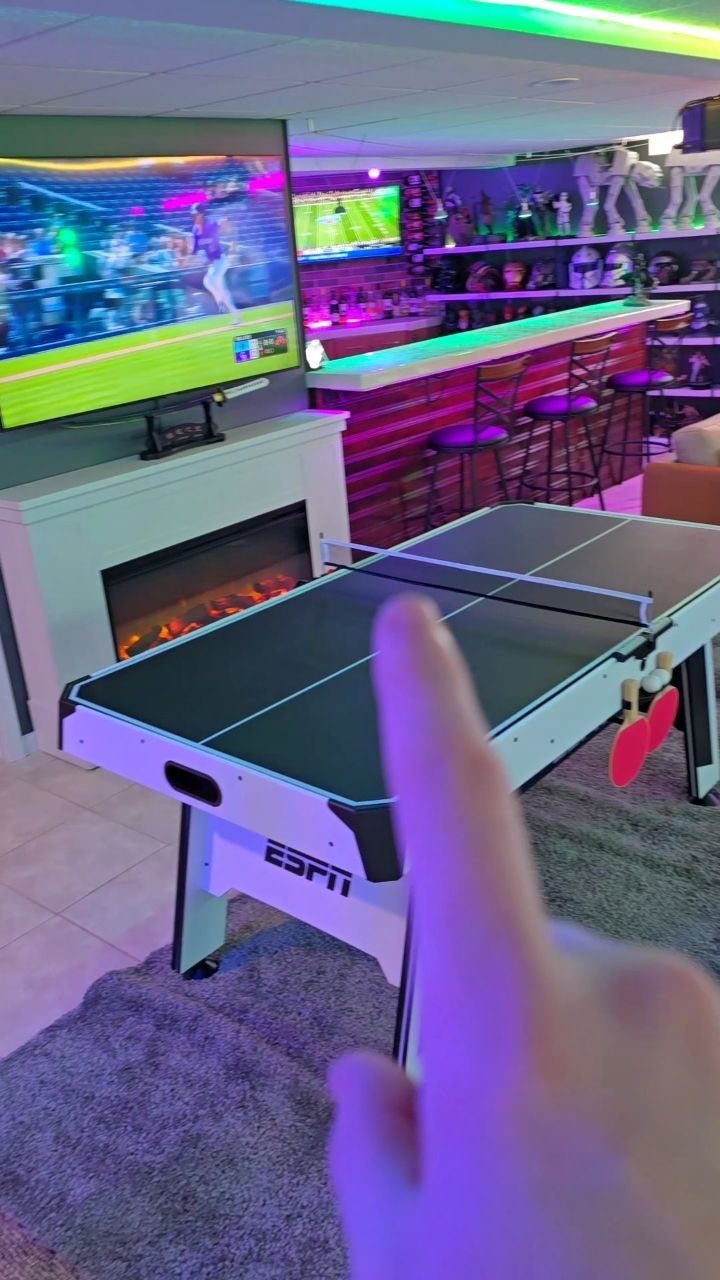
Pairing the bar with a game table turns the basement into a space that holds a group for hours. The neon lighting and open layout here make both areas feel connected without one crowding the other.
Position the bar along a wall opposite or perpendicular to the game table so players can grab drinks without walking through active play.
A short bar with stools fits most basements and leaves room for a ping pong or pool table in the center.
Add a mini fridge and a countertop ice maker so restocking doesn’t pull you upstairs mid-game. Keep glassware to sturdy tumblers; stemware near a ping pong table ends badly.
7. Vertical Wood Accents
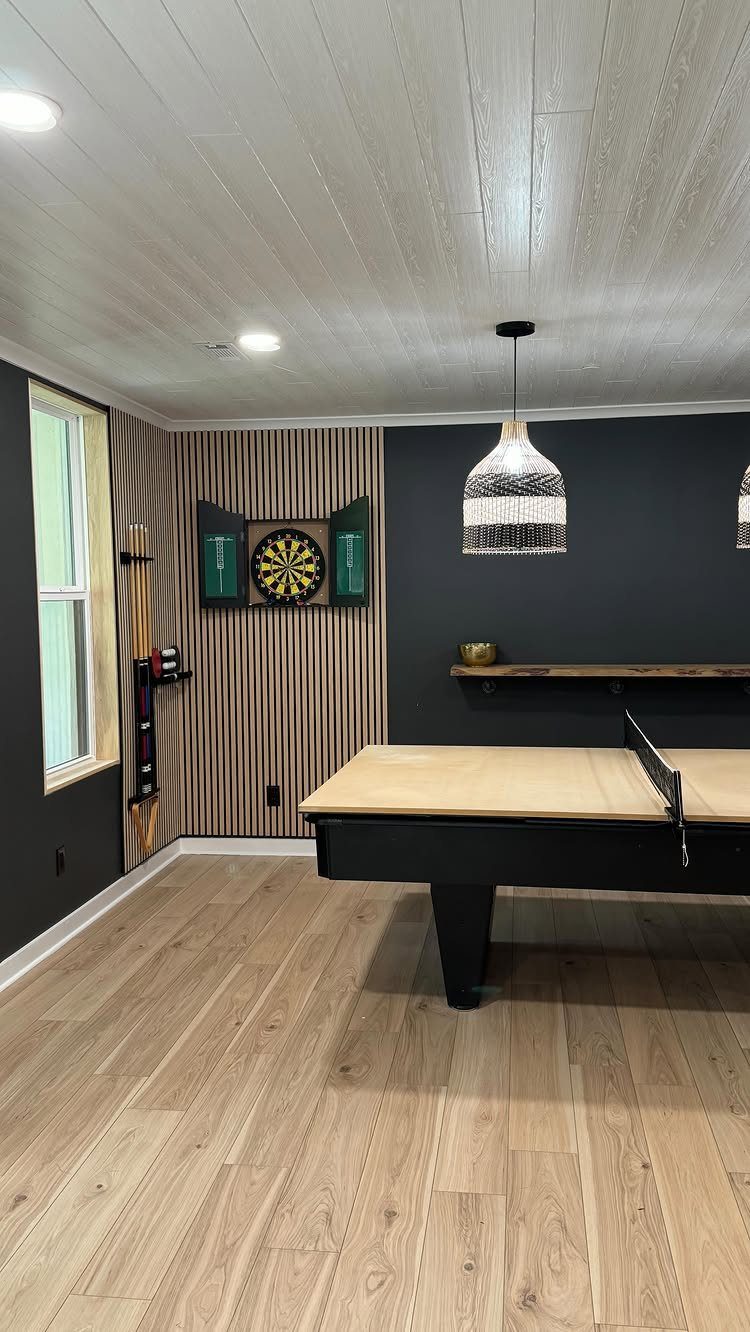
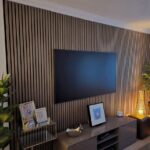
Vertical wood slats break up flat drywall and add texture without taking floor space. The natural grain warms up a game room that leans dark or industrial.
Space the slats evenly and run them floor to ceiling for the full effect.
You can nail them directly to studs or mount them on a plywood backer first if your walls aren’t plumb. Paint or stain them before install; touching up between narrow gaps later is miserable.
This treatment works behind a dartboard or along one wall where you want separation without building anything out.
8. Wall-Mounted Glassware Storage
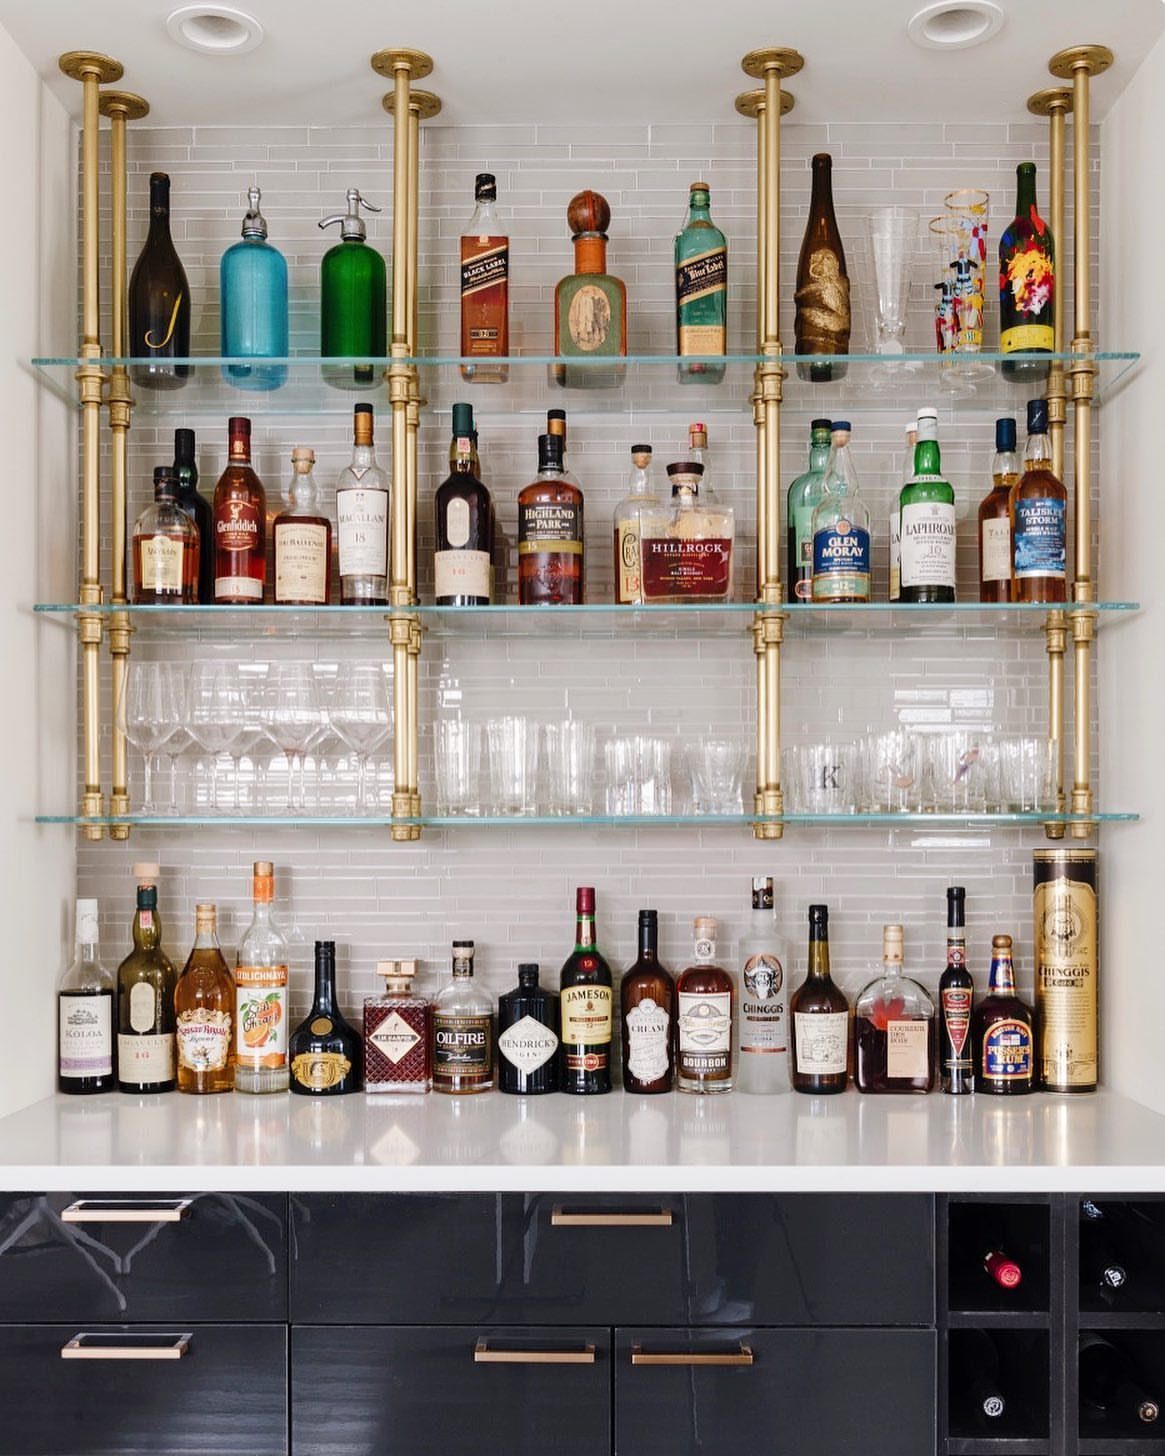
Glass shelves on metal brackets keep bottles and glassware visible and easy to grab. The open layout here makes restocking simple and turns the bar wall into display.
Standard shelf glass needs enough thickness to hold loaded bottles without flexing.
Gold or brass brackets warm the look.
9. Moody Speakeasy Corner
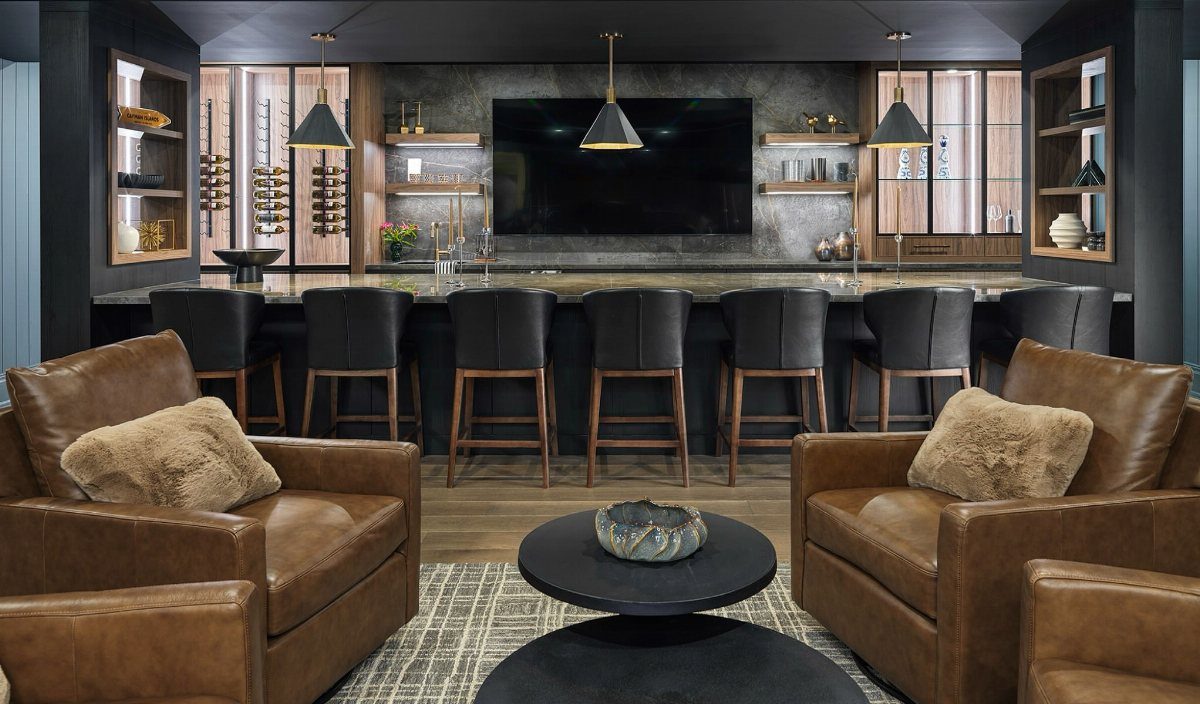
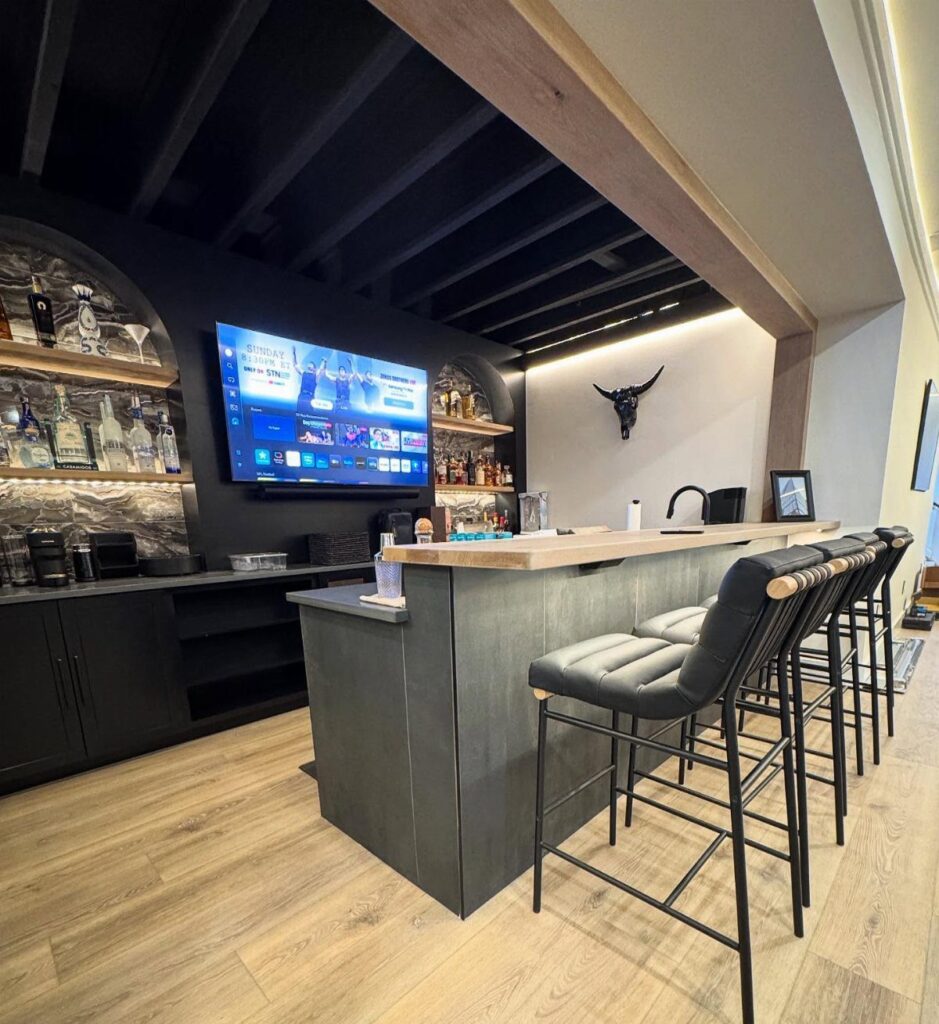
Dark walls, low light and leather seating turn a basement corner into a bar that feels closed off from the rest of the house. A long counter seats several people without crowding, and built-in shelving keeps bottles in reach.
Paint the walls a deep charcoal or navy and add dimmable lighting so you control the mood.
This layout takes more square footage than a compact bar, but it’s the move if you want a separate zone that reads like a lounge.
10. Farmhouse Style Bar
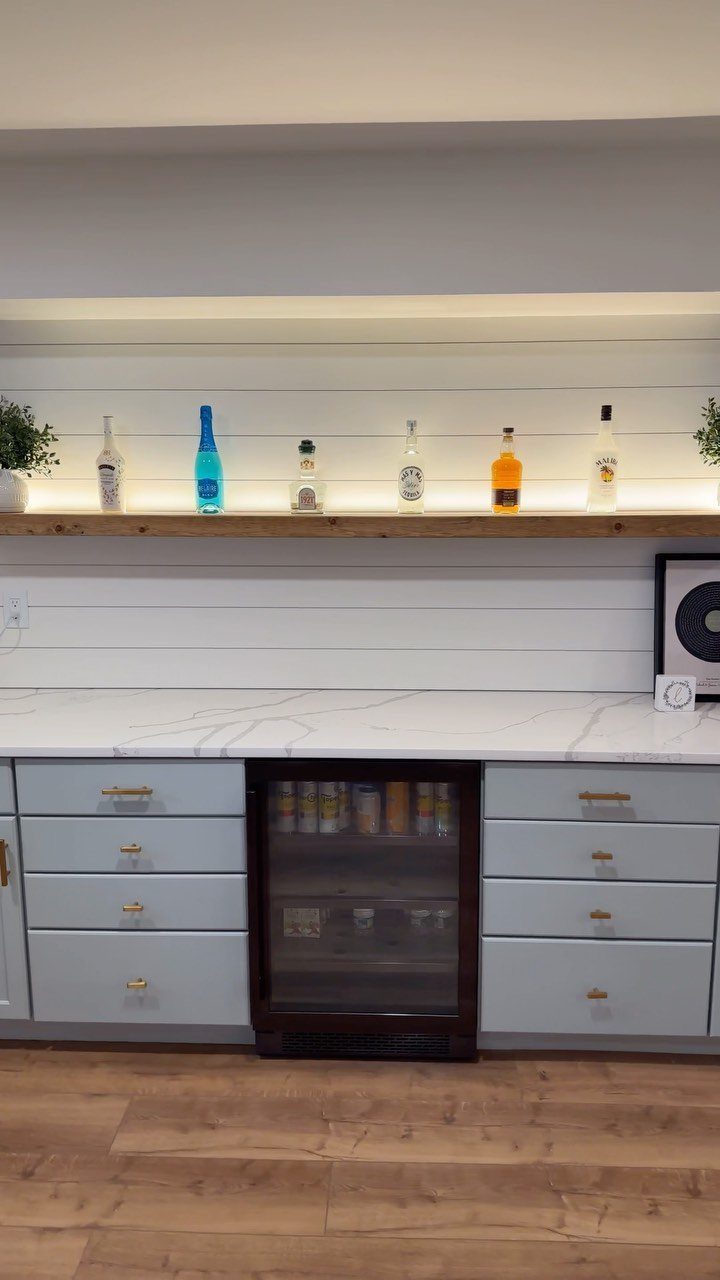
White shiplap and light wood shelving soften a basement bar and make it feel less like a cave.
Shiplap installs over drywall with a nail gun and hides uneven walls.
Paint it white or leave it raw if you want more grain showing through. Pair it with open wood shelving for bottles and a built-in cooler below the counter.
This style suits a basement that doubles as family space. It reads casual without looking unfinished.
11. Wet Bar
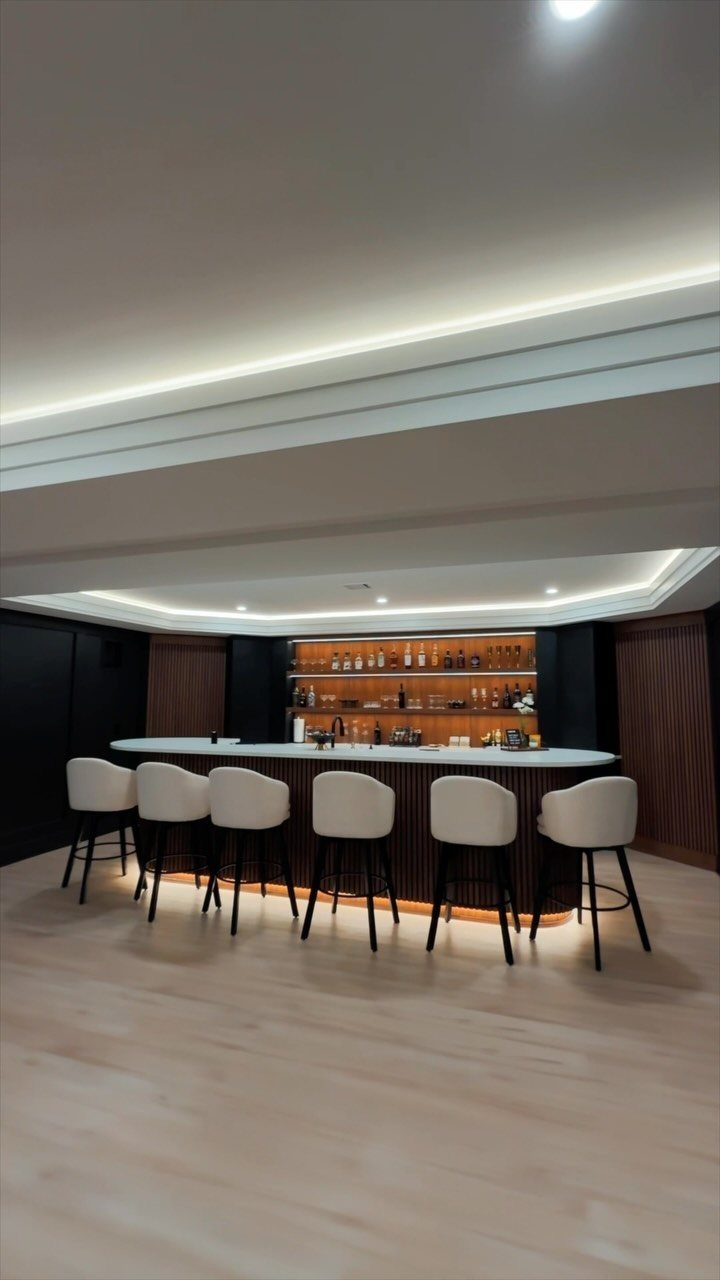
A wet bar with a sink, running water and a drain line lets you rinse glasses, dump ice and mix drinks without hauling everything upstairs.
Running the plumbing is the hard part.
If you’re finishing the basement from scratch, stub out the lines early. Adding a wet bar later means opening walls or running exposed drains, and that limits where it can go.
A sink, a refrigerator and running water make it work like a real bar. You can wash glassware, fill ice buckets and clean up spills without leaving the room.
12. Built-In Back Bar Wall
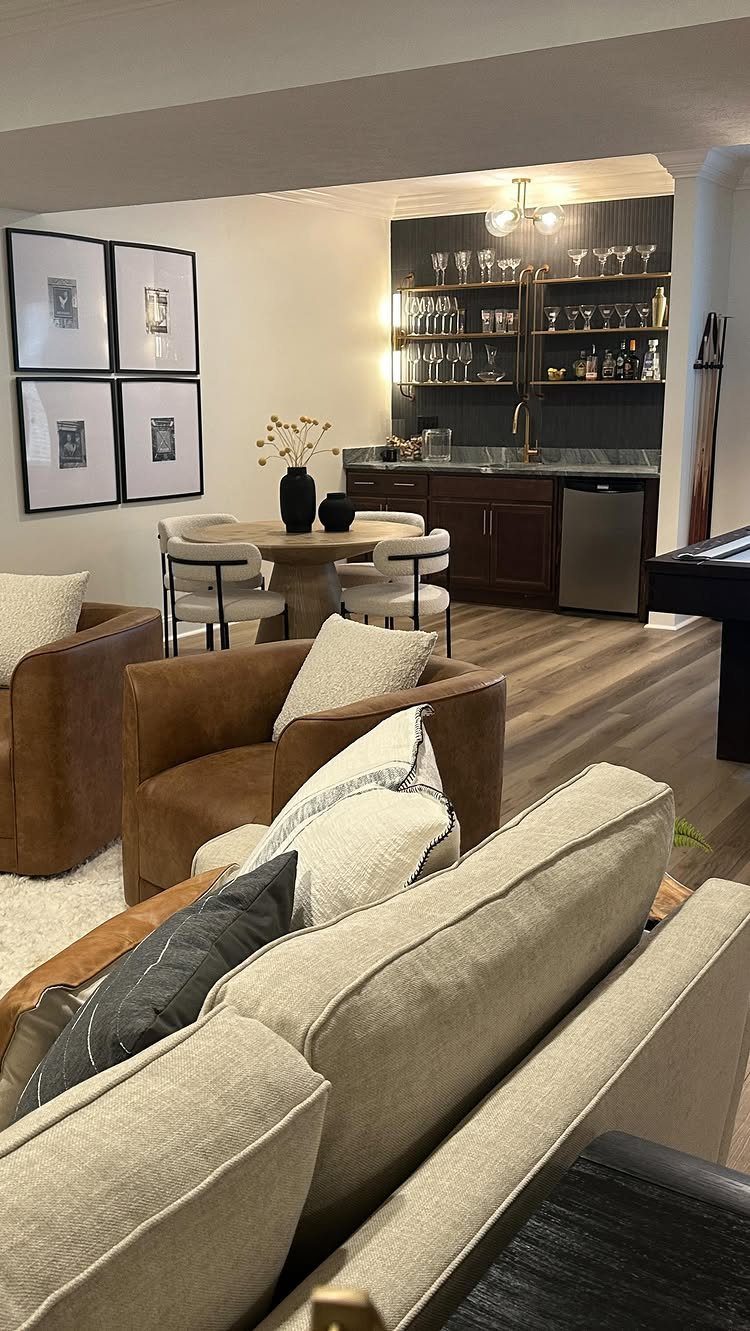
A built-in back bar wall consolidates storage, lighting and plumbing in one feature that spans floor to ceiling. Floating shelves hold glassware and bottles, and a sink below turns the setup into a working wet bar.
Run electrical for under-shelf lighting and plumbing for the sink before you close anything up.
This approach uses vertical space well in a basement with limited width. The built-in look finishes cleaner than freestanding furniture and gives you exactly the shelf heights you need.
13. Integrated Drink Coolers
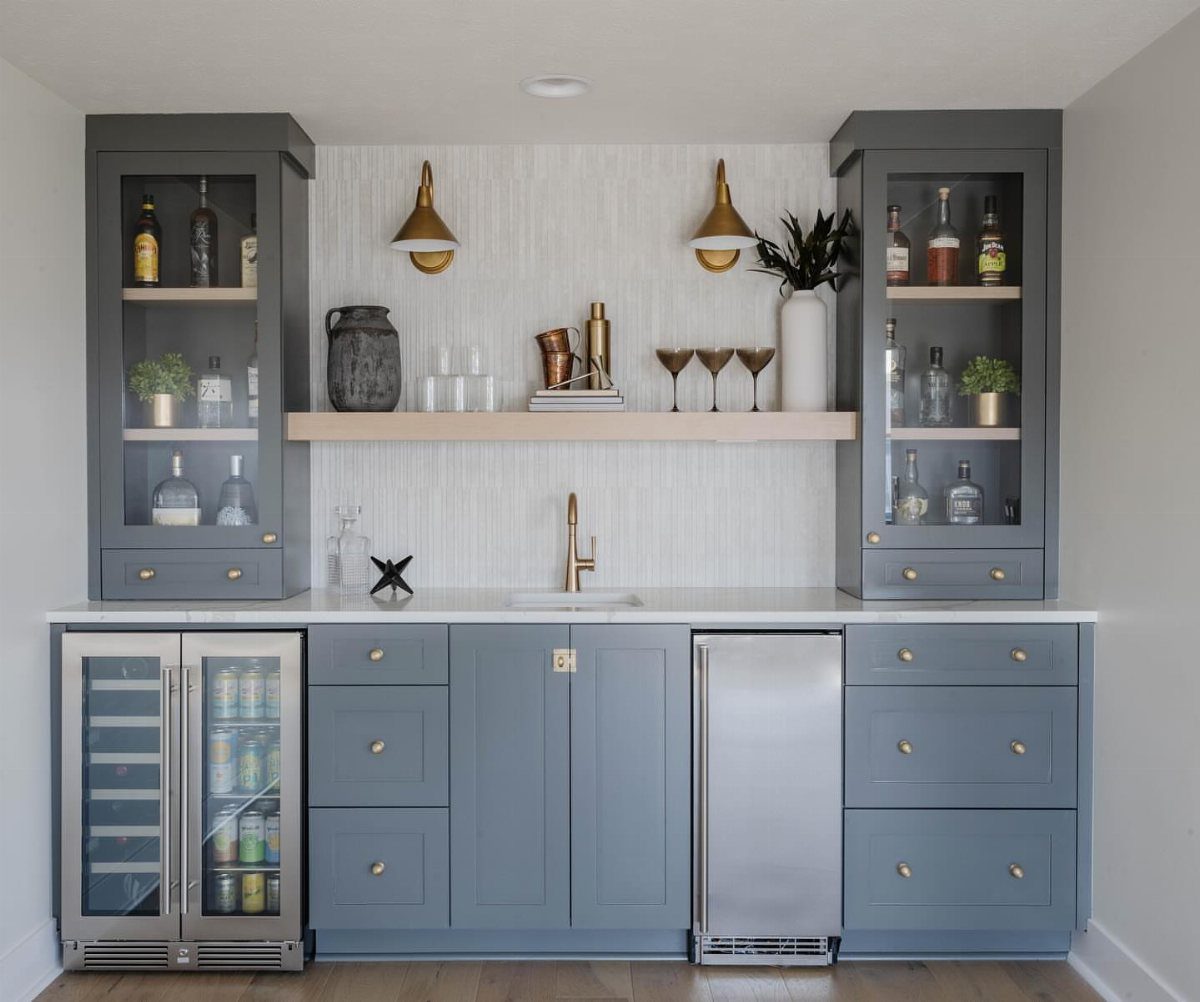
Built-in coolers slide into the cabinetry so everything sits flush and the front matches your cabinet doors or shows stainless steel. 2 units give you separate zones for beer and wine if you stock both.
Size the cabinet opening before you order the cooler.
Most units vent from the front, but check the cut sheet for clearance requirements. Measure the height with the door open; many swing low and need more clearance than the closed unit suggests.
14. Statement Tile Wall
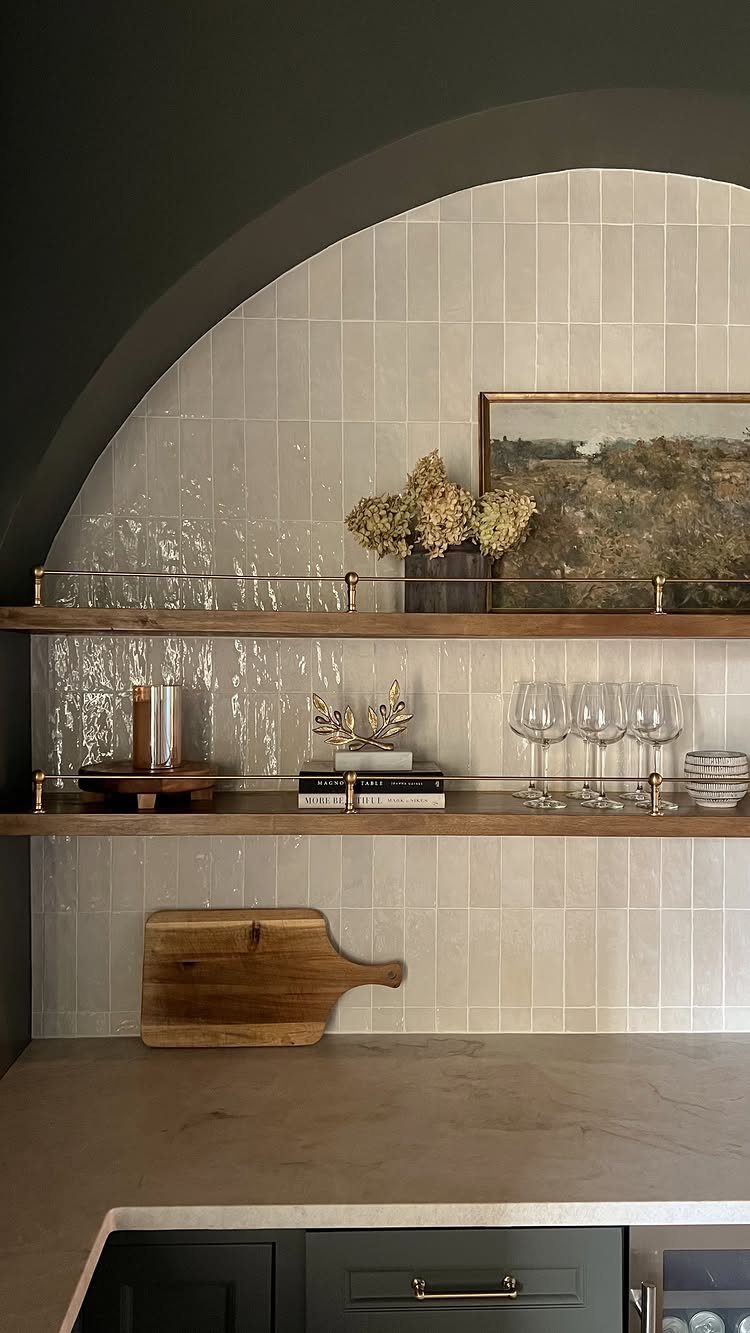
Glossy vertical tile reflects light and makes a small bar feel taller. The light color here brightens the space without washing out the wood shelving.
Subway tile or slim stacked tile installs faster than mosaic and reads clean behind open shelves. Set the tile before you mount the shelves so cuts land behind the brackets.
A curved arch frames the bar and adds softness to a room full of straight lines. Cut the arch from plywood, fur it out with studs, and finish the curve with flexible corner bead before you tile.
Planning Your Basement Bar
Start with how you’ll use the space. A bar that hosts groups needs seating for at least four and enough counter to set down multiple glasses at once.
If it’s mostly you and one other person mixing drinks on a Friday night, a narrow console with storage underneath does the job.
Usage shapes layout.
Regular entertaining means you want the bar visible from the main basement area so you’re not tucked away while guests sit elsewhere. A quiet drink after work suits a corner setup that feels separate.
Match the bar to whatever look you already have going in the rest of the space.
If the floor and walls already lean industrial or farmhouse, the bar materials should match. Mixing styles in a small space makes both read unfinished.
Check for existing plumbing and electrical before you settle on a location. Moving those lines later doubles the cost and limits where the bar can go.
Importance of Lighting
Pendant lights mark the bar area and put light where you need it for pouring and mixing. They’re often enough on their own if the bar sits in a corner or along one wall.
Layer in cabinet lighting if you want to keep overhead lights low while guests are sitting. Small LEDs built into shelving or under cabinets let you see what you’re reaching for without flooding the room.
Smart dimmers or phone-controlled LEDs give you more control over the mood. You can dim under-shelf strips for evening drinks and bring them up when you’re restocking or cleaning.
Basements with windows let in some natural light during the day, which changes how much artificial light you need at night. Account for that before you wire in fixtures you’ll barely use.
Choosing Between Wet and Dry Bars
Running water means hiring a plumber to connect supply lines and a drain. If the floor sits below your main sewer line, you’ll need an ejector pump to move wastewater up and out.
Wet bars cost more and take longer to install, but a sink makes cleanup easier when you’re working with syrups, citrus or anything sticky. Rinsing glasses and dumping ice without going upstairs keeps the basement functional during a long night.
Dry bars skip the plumbing entirely.
They’re just a counter and storage, which makes them cheaper, faster and easier to fit into a small basement. You lose the sink, but you gain flexibility in where the bar can go.
Frequently Asked Questions
Does a bar in the basement add value?
A well-designed basement bar typically adds buyer appeal and resale value, especially when it includes a sink and proper permits.
The bar has to feel finished at the same level as the rooms upstairs or it reads as unfinished work when you sell. Poorly executed or unfinished bars don’t move the needle.
How can I make my basement look better?
Add a bar to define the space and give it purpose, then layer in enough lighting so the room doesn’t feel like a cave.
Use design elements that match the rest of your basement instead of mixing styles that make the space read unfinished.
How much does it usually cost to remodel a basement?
Basement remodel costs depend on the size of the space and what you’re adding, so an accurate number requires a quote from a contractor familiar with your area.
A wet bar with cabinets and a fridge runs $8,000 to $15,000 when you fold it into finishing the rest of the basement.